
5.a Windows 7/8 Device Driver Installation for O Watch (TinyScreen+)
Windows 7/8 requires a few additional steps to install the O Watch TinyScreen+ device drivers. This is a one-time setup and you should be all set.
It is highly recommended you use a Windows 10 PC or upgrade. If you choose to proceed, you need to use an account with full administrator rights where using O Watch.
- When you first connect the O Watch via USB to your Windows 7/8 PC it should now show a pop-up attempting to install the USB device drivers. Click Yes to accept and install if it asks.
- Click here to download the PJRC USB-CDC driver provided by the super awesome folks at Adafruit/PJRC. Open the downloaded zip file, extract and open the exe file to install the driver.
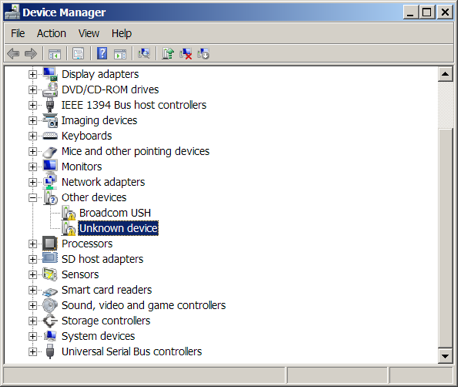
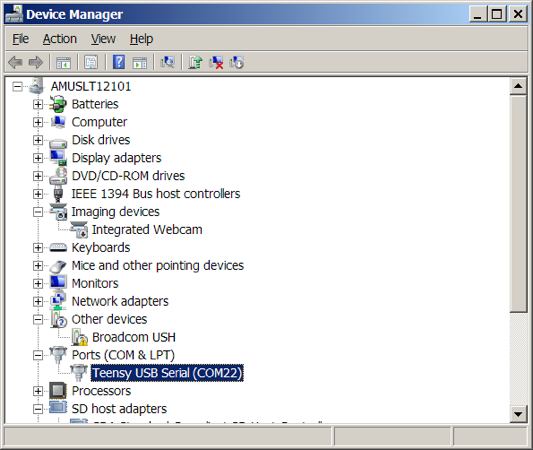
- After it is installed, go to Control Panel->Device Manager
- In the Device Manager, you should see Other Devices -> ‘Unknown Device’.
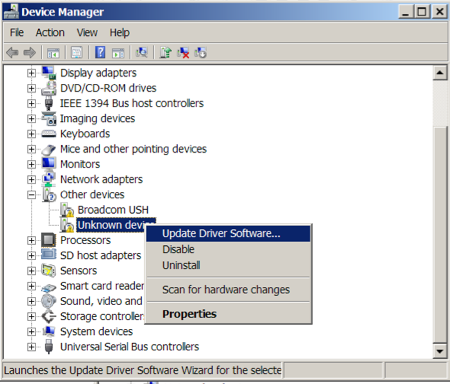
- Right click ‘Unknown Device’ and click ‘Update Driver Software’
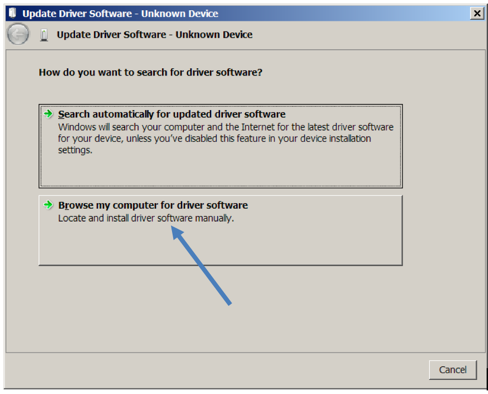
- Click ‘Browse my computer for driver software”.
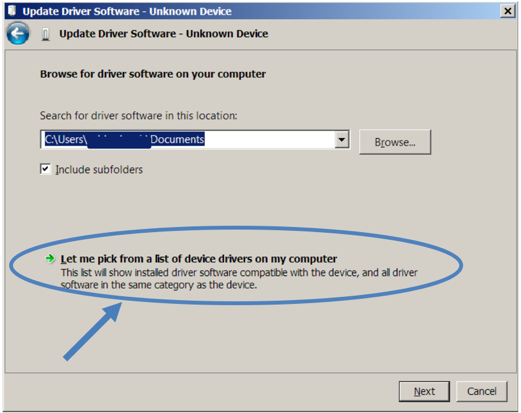
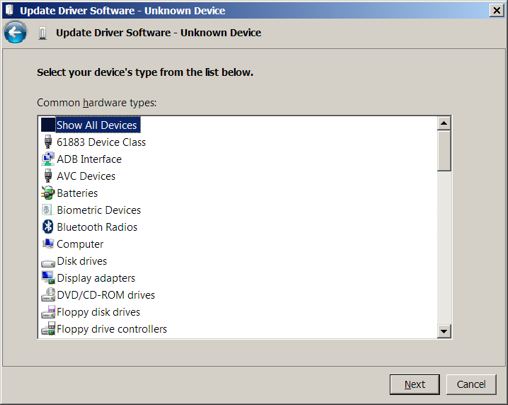
- On the next screen click “Let me pick from a list of device drivers..”.
- Keep default selection “Show all devices” in next screen and click Next.
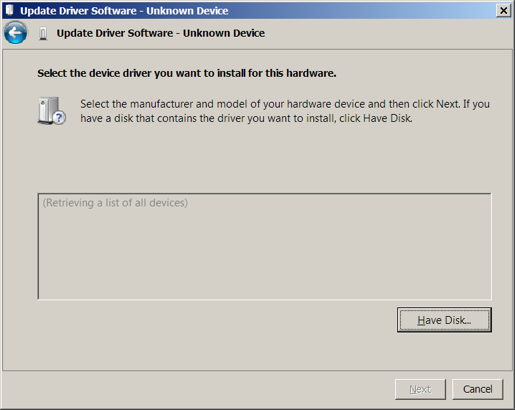
- Wait in the next screen for a few minutes till it lists the devices.
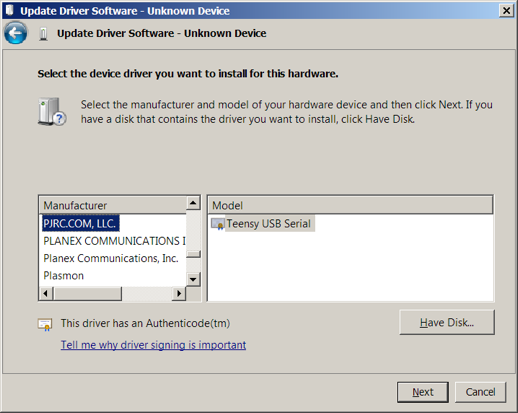
- Then under Manufacturer select PJRC.COM, LLC and click next.
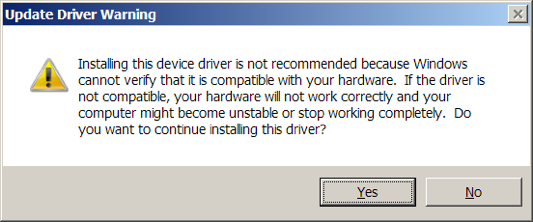
- Click ‘Yes’ on the warning message to install the driver.
- The Device Driver should now be successfully installed and should show as Teensy USB Serial in the Device Manager.
- You can now relaunch Arduino Software (IDE) and verify if TinyScreen+ shows up under Tools->Port.
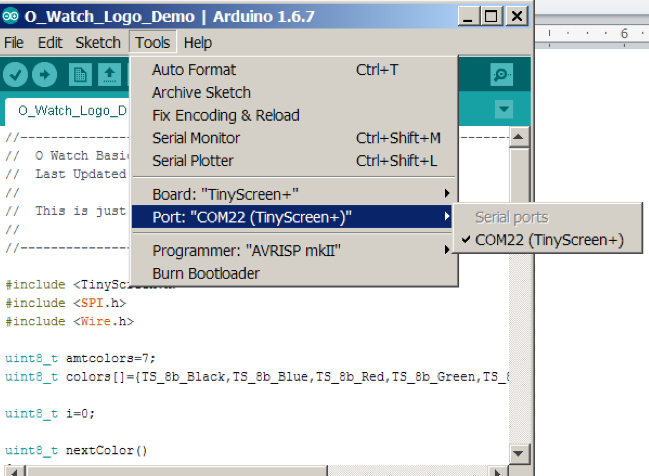
If successful, you can proceed to Upload Your First Program.
If TinyScreen doesn’t show up, then please try reinstalling the drivers by following the steps from start. If it still doesn’t work, contact O Watch support.
<< Back: 5. Connecting the O Watch | 6. Uploading your first program >>